Replace/Calibrate Force Sensor
Step 1: Remove Force Sensor
Connect TeachPad
Move the robot to allow easy access to force sensor screws
Remove brush by disconnecting the secure pin
Place the 2 springs in the lower rod and place the secure pin to prevent losing springs
Disconnect the force sensor from the force sensor cable
Unscrew the 6 screws connecting the force sensor to the adapter plate (TORX HF-20)
Remove the brush holder and the force sensor from the adapter plate
Disconnect the force sensor from the brush holder by removing the 4 screws (Hex-Plus5)
Verify the seal is placed in the force sensor dedicated grove, if needed place it manually
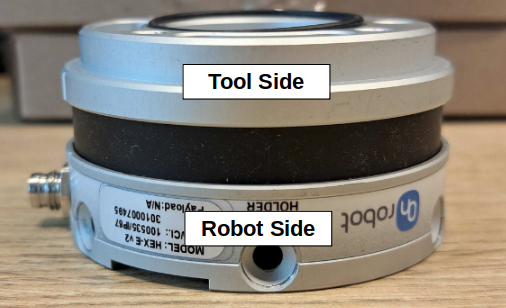
Always hold the brush holder or the tool side of the force sensor when screwing or unscrewing the force sensor to the brush holder.
Holding the robot side or the rubber part of the force sensor can cause significant damage to the force sensor!
Step 2: Calibrate Force Sensor
Connect the calibration tool to power and a computer
Connect the force sensor to the calibration tool
Place the force sensor on a level surface with robot side facing down
Verify that no load is applied on the force sensor
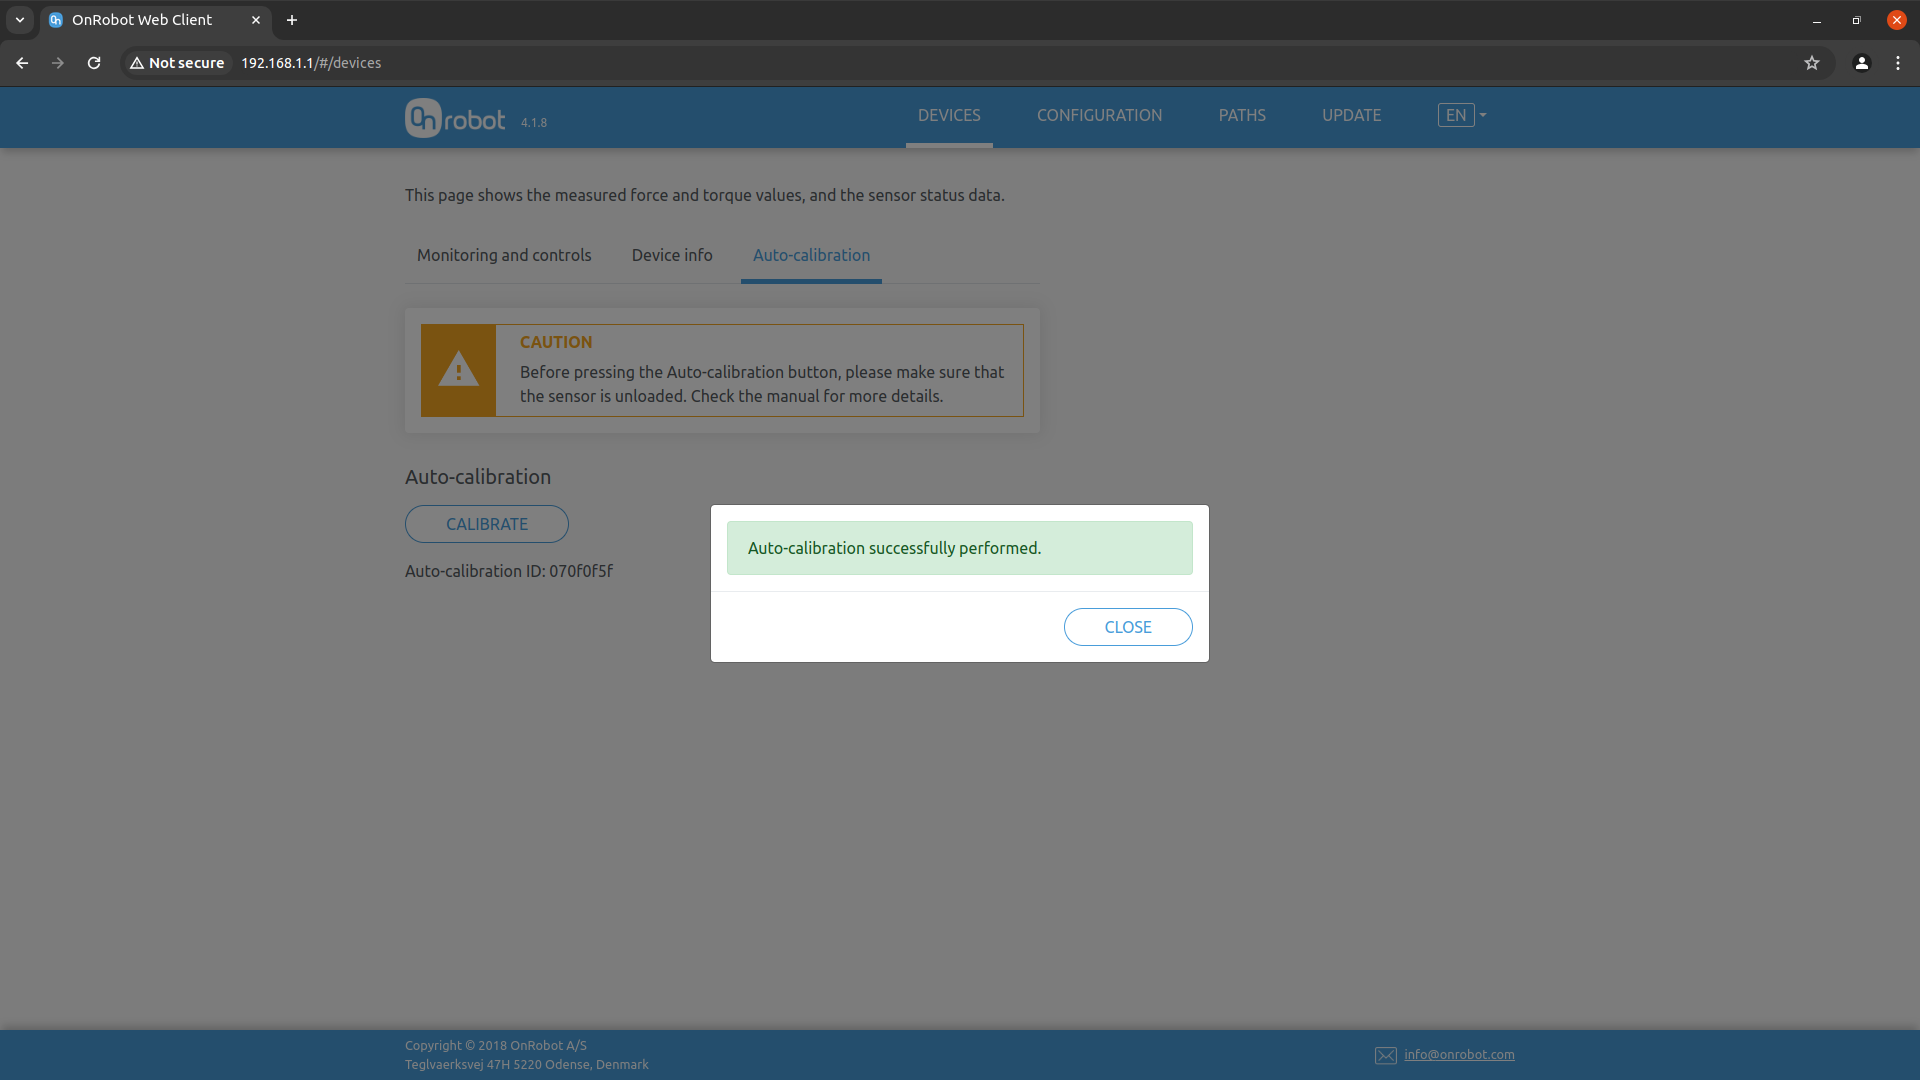
In the web browser go to 192.168.1.1
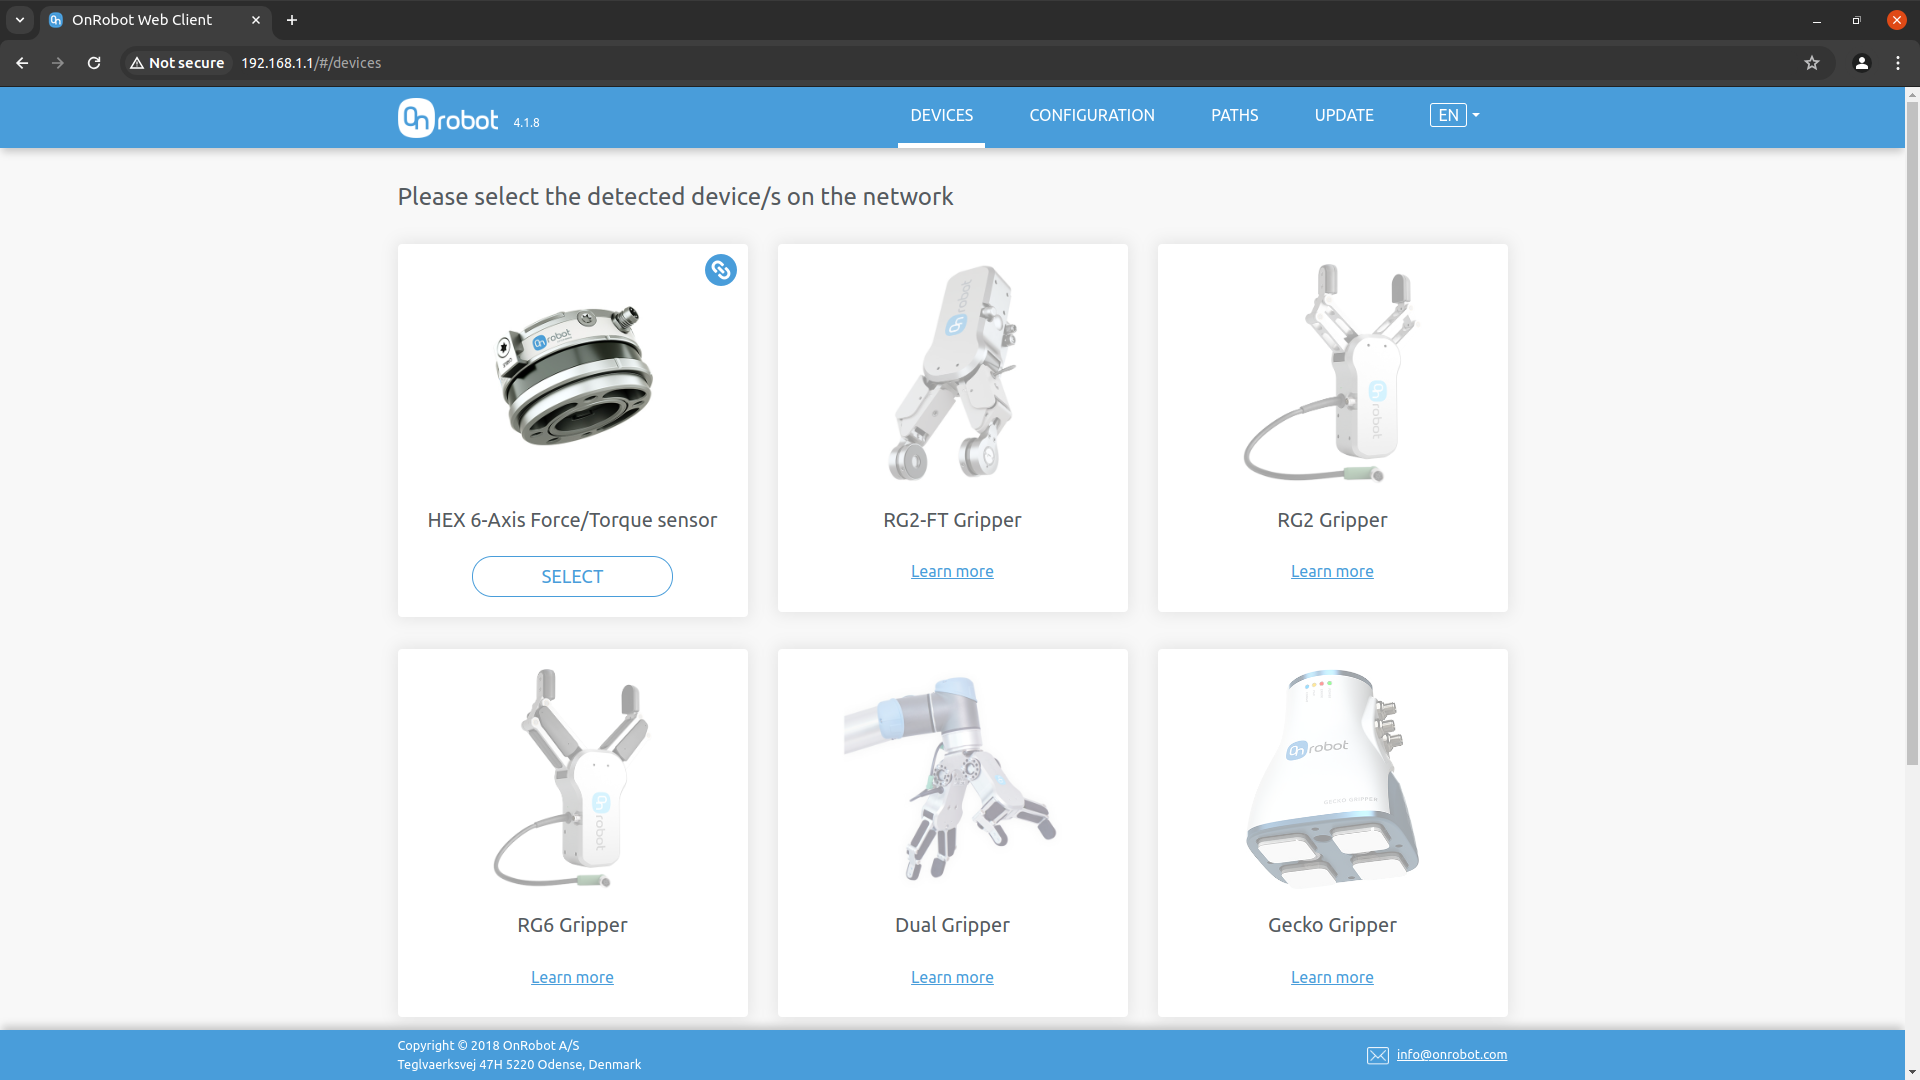
Press Select to go into the force sensor. If the force sensor is not recognized, check connections

Go to Auto-Calibration
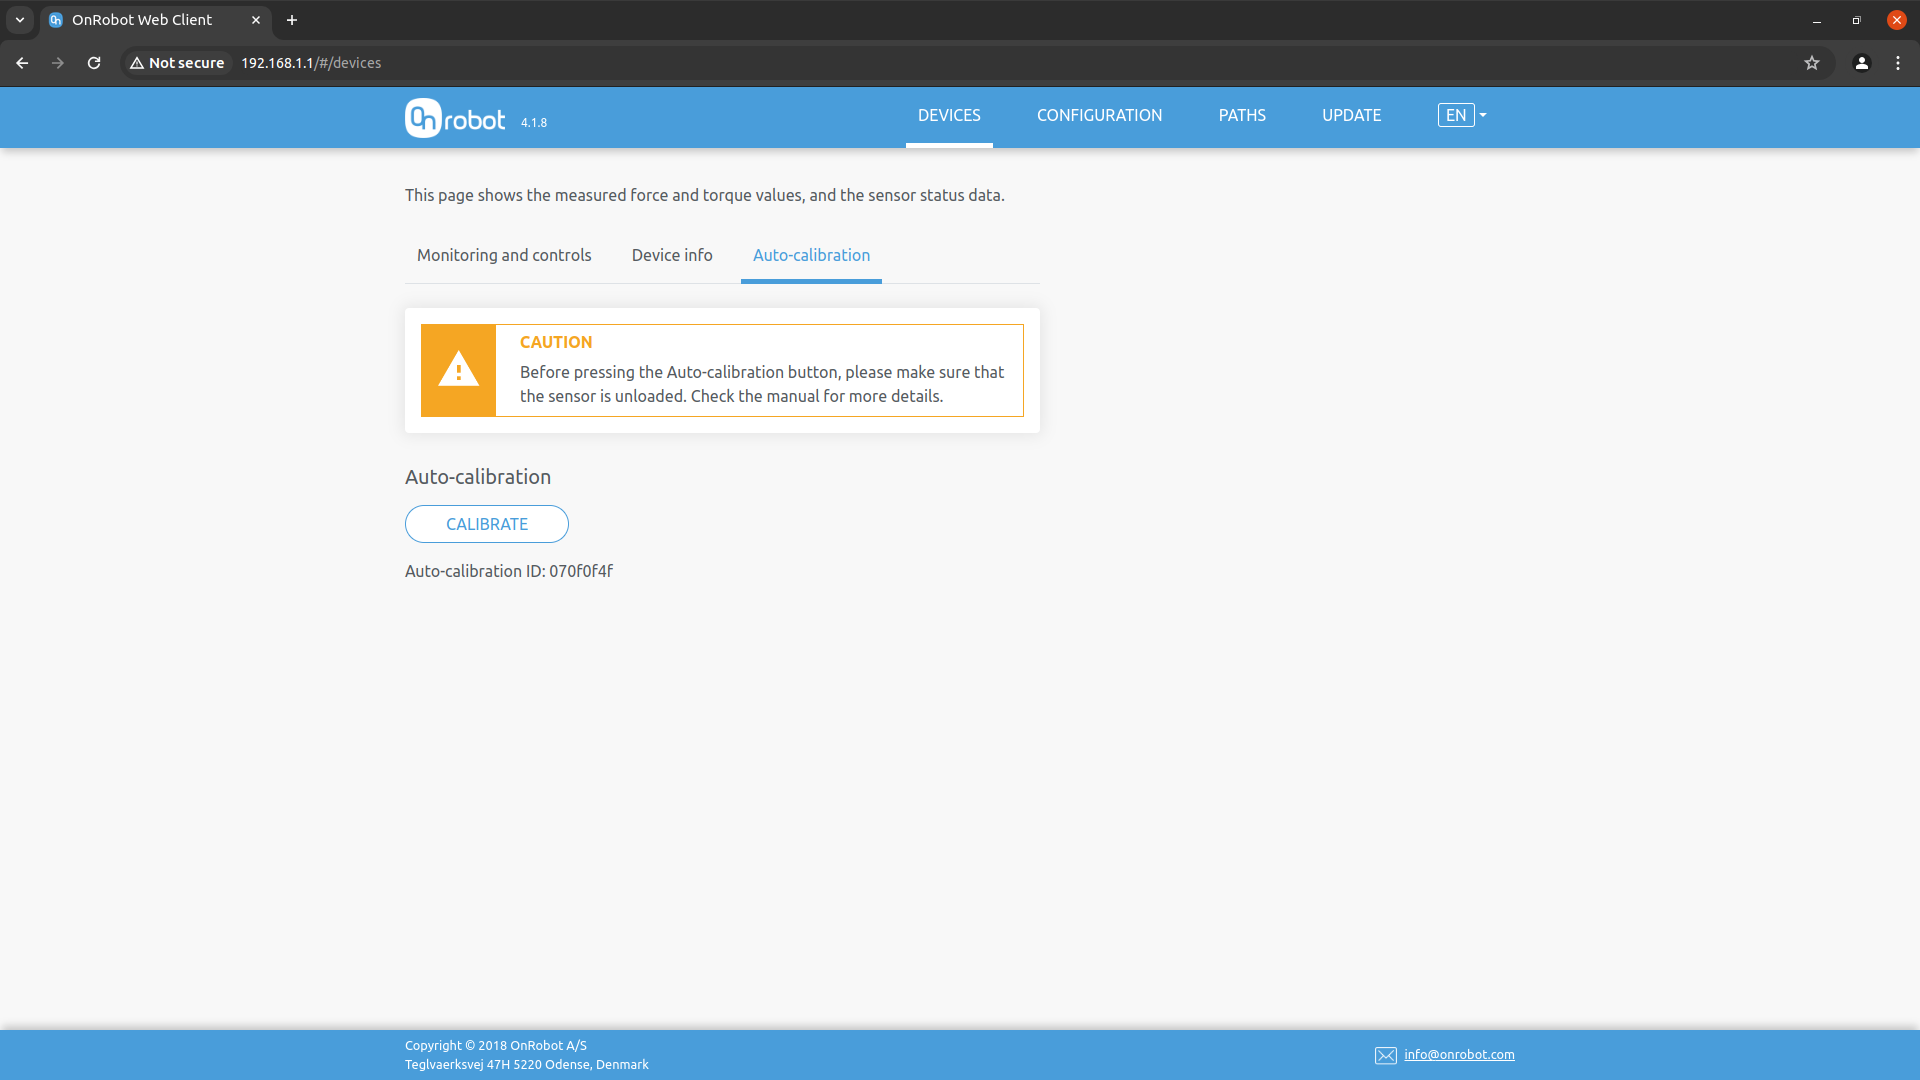
Press Calibrate, and on the following pop-up press OK
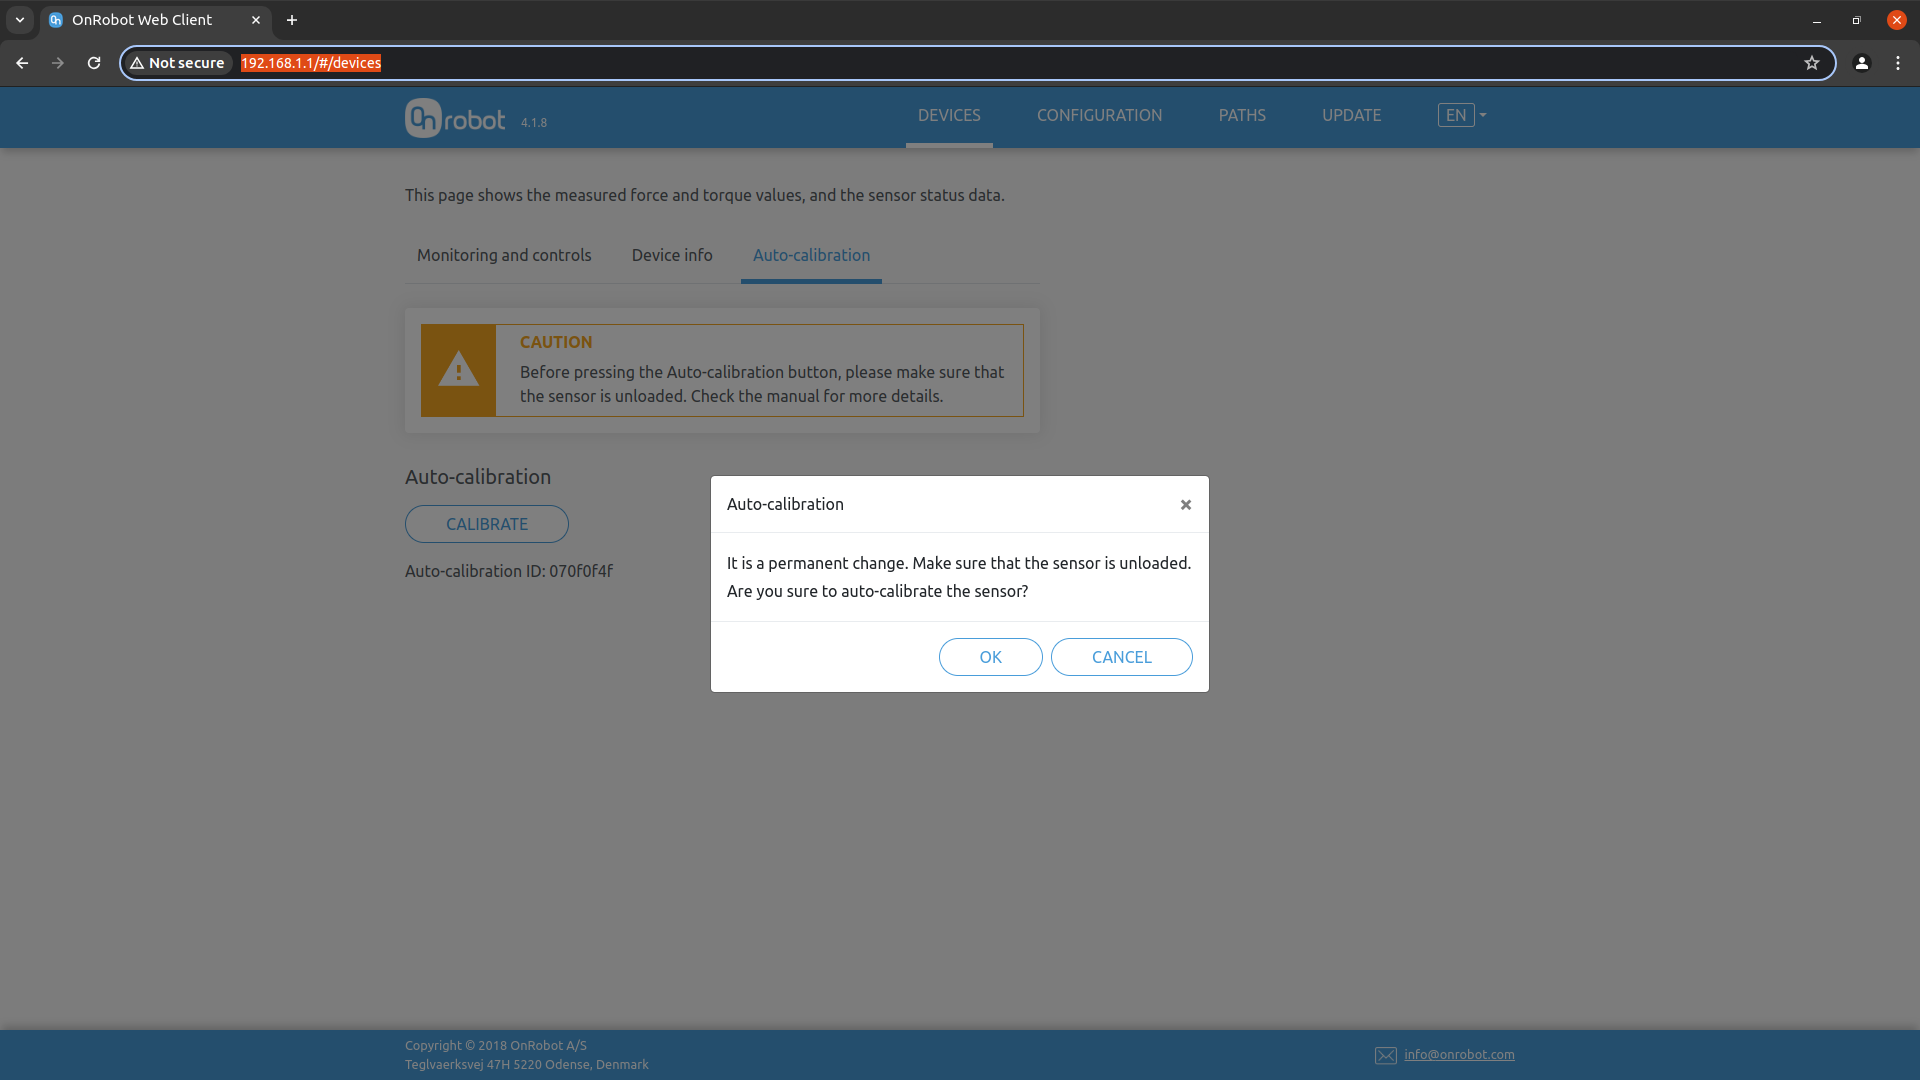
Press Close
Disconnect the force sensor from the calibration tool
Step 3: Install Force Sensor
Connect the force sensor to the brush holder by screwing the 4 screws (Hex-Plus5)
Verify the seal is placed in the force sensor dedicated grove
Place the brush holder and the force sensor in the adapter plate
Screw the 6 screws connecting the force sensor to the adapter plate (TORX HF-20)
Connect the force sensor to the force sensor cable
Connect the brush:
Place the springs according to their origin location (long spring to long rod and short spring to short rod)
insert both rods to the brush holder - long rod at the bottom
Secure the brush with the secure pin
Move the robot back to its original position
Put TeachPad back to EXT mode
Disconnect the TeachPad
Power cycle the system